Router (noun)
A device that mediates the transmission routes of data packets over an electronic communications network (such as the Internet).
A horse trained for distance races.
A machine with a revolving vertical spindle and cutter for milling.
The latter, of course, is the "router" referenced here.
It's an essential tool found in most woodworking shops and, nowadays, serves as the cutting muscle in many CNC machines. But it's not just for wood. The router can easily cut through materials ranging from plastic to soft metals like aluminum. As such, it’s an effective tool for basic machining, and as I found out, it can accomplish far more demanding milling jobs than I once thought possible.
First, the business end of the router: the bits.
Router bits come in many shapes and sizes, depending on the purpose, including straight grooving bits, edge-shaping bits, any number of joinery bits, and one I employ quite often: the flush trim bit.
Flush trim bits have a straight shaft with one or more cutting surfaces and a bearing at the tip with an identical diameter as the cutting shaft. The bearing guides the bit along a plane or contour, cutting whatever material is above it to the same shape. The flush trim bit is excellent for trimming laminates, for example.
In building the mini camper, I used flush trim bits extensively. For cutting the plywood to fit, I lined up whole sheets on the frame, then ran the router along the frame's contour, cutting the wood precisely the shape of the metal frame.
Similarly, I cut out openings for the door, window, roof vent, and back hatch. By building these frames in advance, cutting the openings to the same dimension was a piece of cake using the flush trim bit.
I trimmed the aluminum in the same way. After lining up the sheets, it was simply a matter of tracing the camper's outline with the router's flush trim bit.
Unlike wood, cutting aluminum tends to heat the bits quickly, so using a lubricant such as cutting fluid or a shot of WD-40 is best. Keeping the router at its lowest speed is also advisable.
Technically speaking, the above applications are all examples of "machining." By definition, machining (verb) means "to process by machine, especially to reduce or finish by turning, shaping, planing, or milling by machine-operated tools." So simply cutting a board with a router, I suspect, is technically machining. But we often refer to "machining" when transforming a piece of stock into something more specific. Tools commonly employed my machinists are the lathe and the mill. I have neither, but I do have a router, and I've learned to use it as my handy little machining machine.
Another example from the camper: the radius trim.
I made a wood template in the desired shape to make the curved arcs for the camper's trim and then cut aluminum pieces using this template and the flush trim bit on the router.
The router works beautifully at reducing sheet metal into specialized shapes.
I pushed the limits of my router-as-machine tool when I decided to bore out a wheel spacer for my camper's spare tire.
A little backstory here for context.
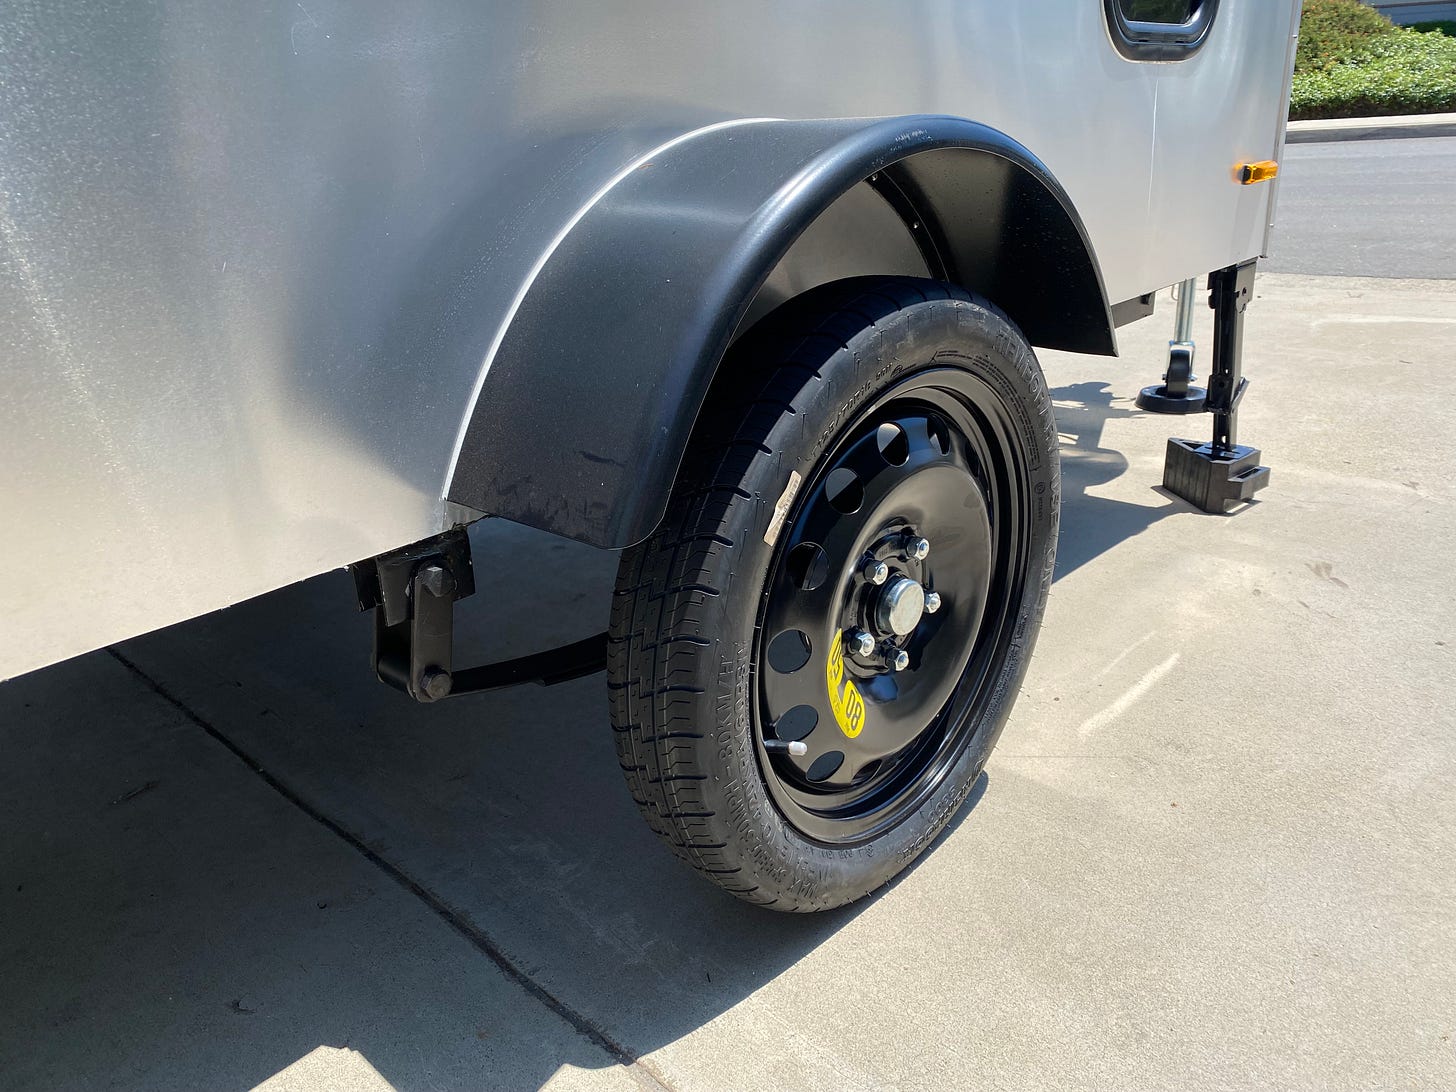
Given my camping rig's tiny size and my diminutive VW Golf that tows it, I wanted to have only one spare that would work with either in case of a flat. It would save some weight and a lot of space. The problem is my car and camper's lug spacing patterns are different. The car has five lugs on a 112 mm spacing (commonly written as 5x112); the camper also has five but on a 4.5-inch (114.3 mm) spacing (5x114.3).
I found a hub adapter spacer online that converts from 114.3 mm to 112 mm, allowing me - in theory - to mount the car's spare on the camper. The spacer bolts to the camper hub (114.3), and then the spare should mount to the spacer (112). But there was one small problem.
The spacer's center hole (bore) was too small to accommodate the camper's hub.
No big deal if one has a metal lathe (but as mentioned, I do not). So my initial thought was to have a professional machinist bore it out. But after calling around town, I learned a pro would charge about $200 to do it. As I am already over budget on the camper, that was a lot of cash for a spare tire fix, so I decided to do it myself - with the router and flush trim bit.
For the flush trim bit to work, it needs an appropriate template to trace. The spacers came in pairs, and initially, I was frustrated having to buy two when I only needed one. But the second came in handy as the template.
Inside the hubs are two diameters: one bore of about 70 mm and a second flange that creates a smaller 40 mm inner bore. The former hole is plenty big, so the plan was to use one hub’s large hole as the template by flipping it over and mating it with the other, then route out the flange to make the opening in one to be 70 mm all the way through.
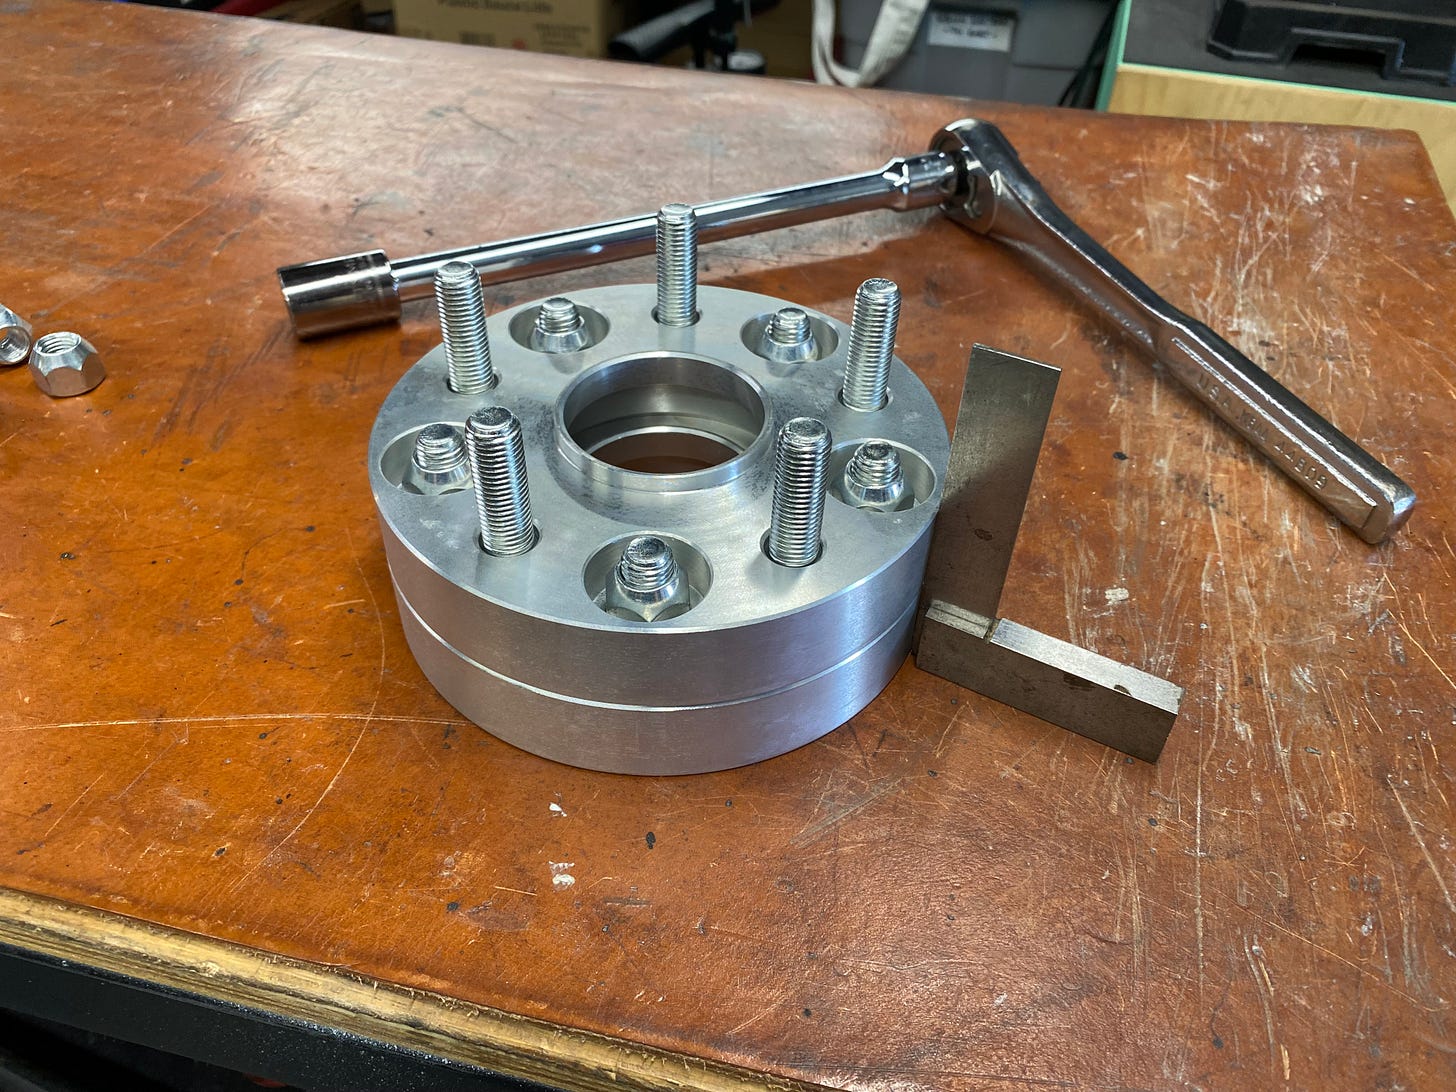
The studs, of course, don't match the holes (that's the whole point of this adapter spacer). But they did fit through, so I aligned the two spacers using a small square and tightened down the lug nuts' flat sides, temporarily locking them together.
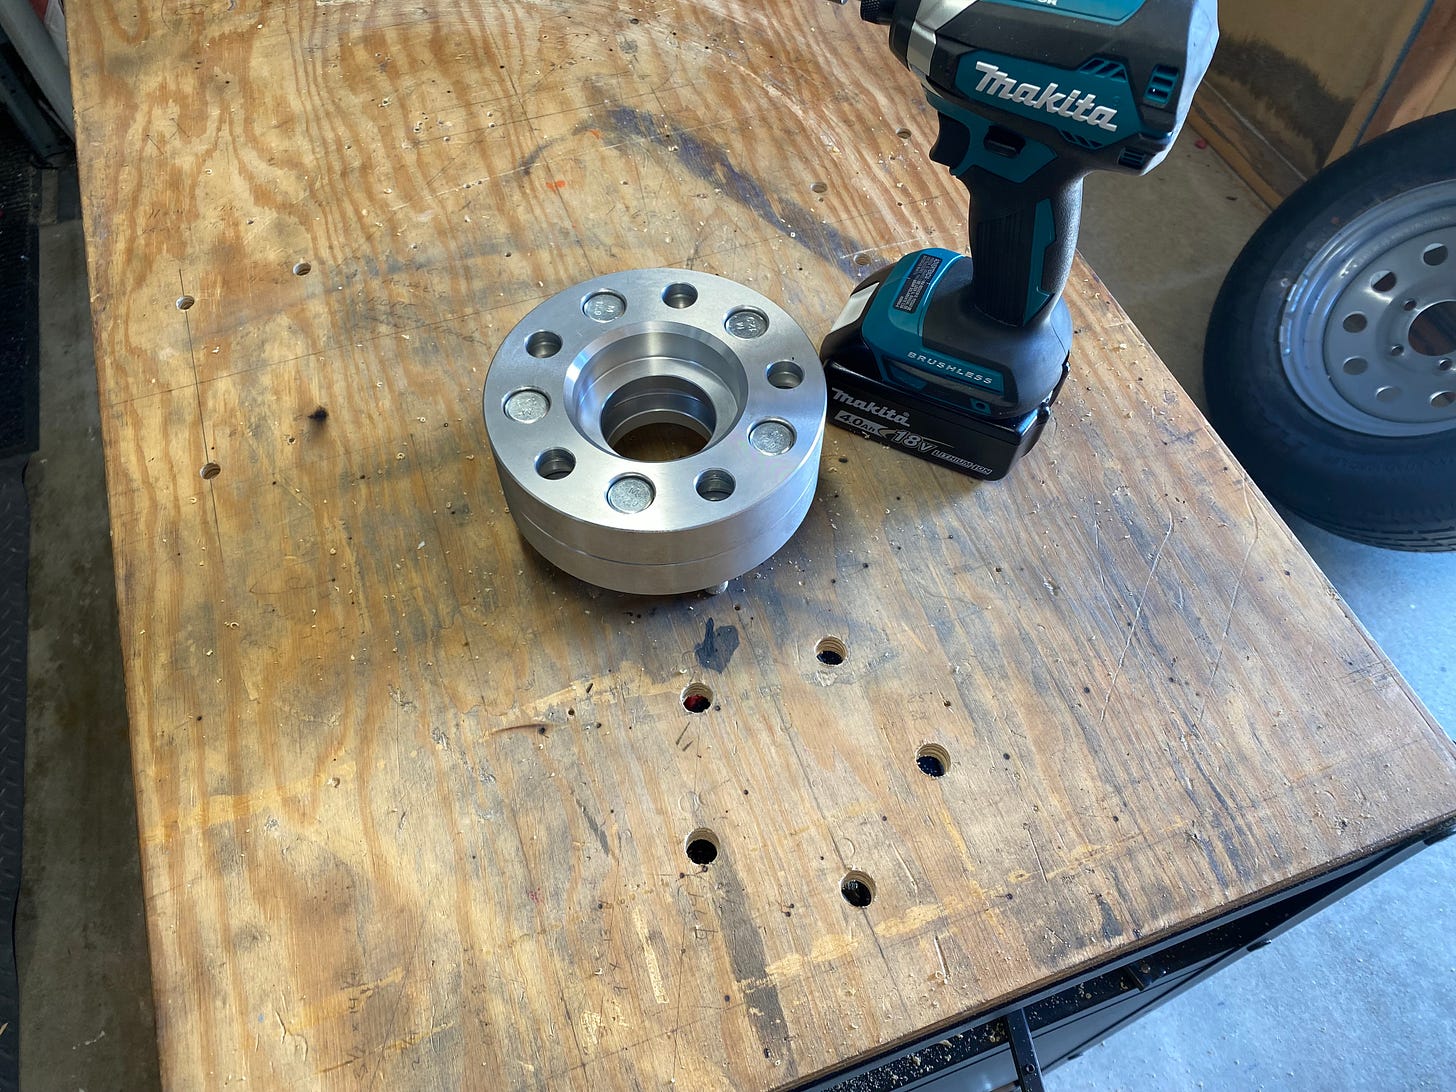
I then marked out the lug pattern on my workbench and drilled five holes. After inserting the coupled hubs into the holes and bolting the whole thing to the bench from below, I was ready to machine.
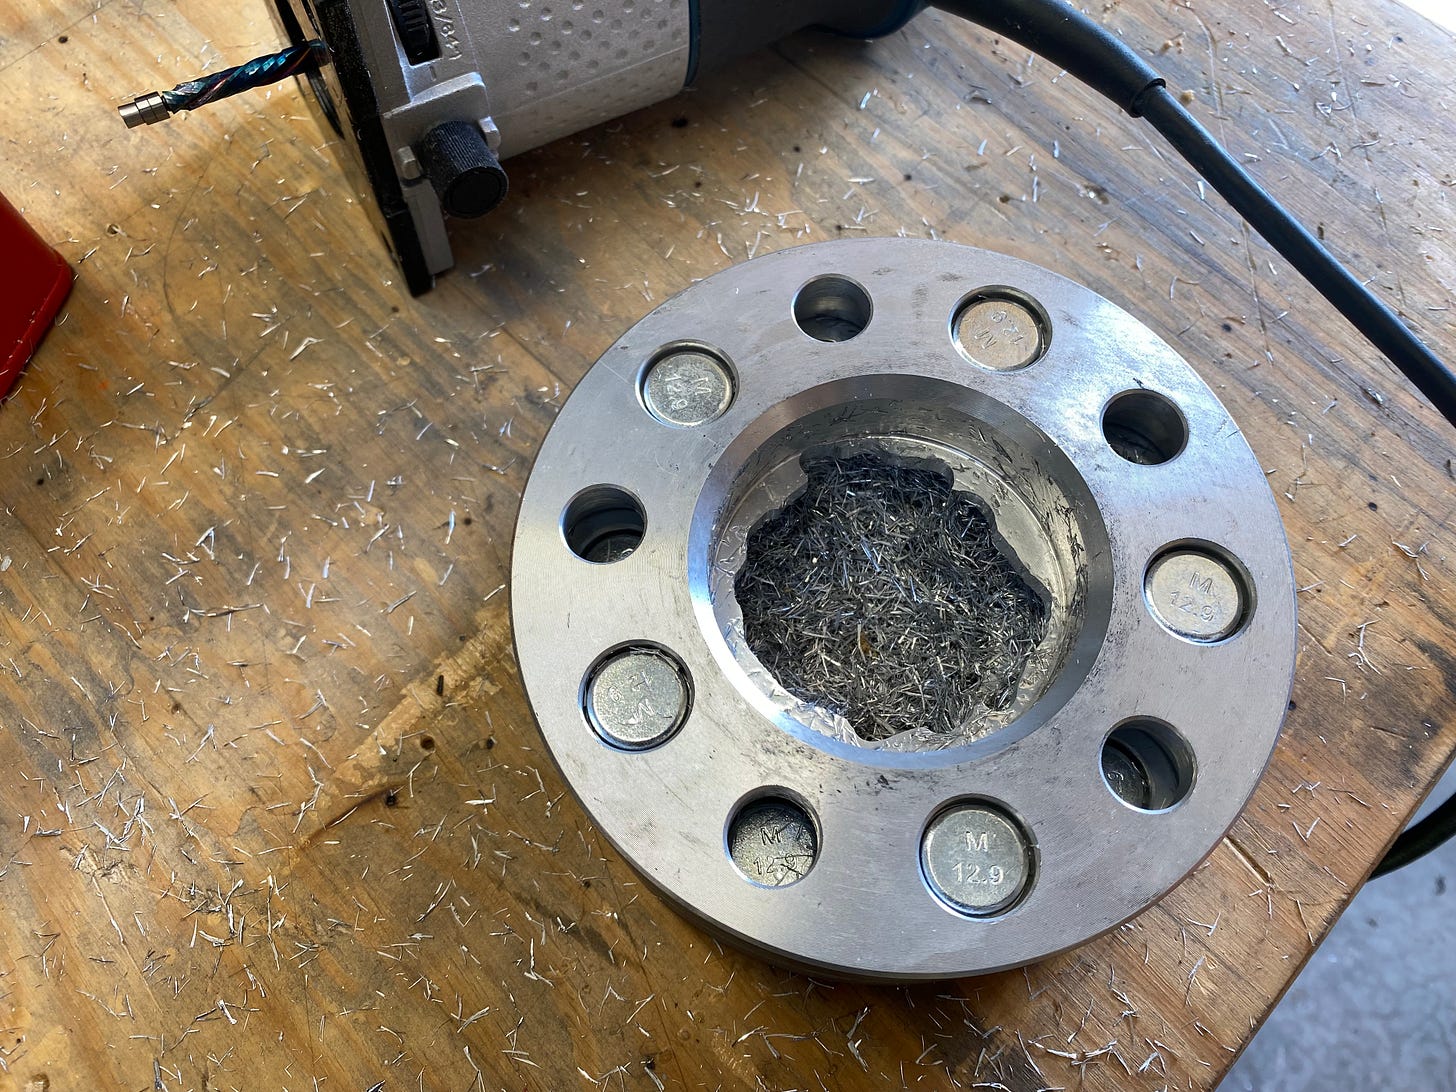
It was a sizable amount of material to remove, so I dowsed the part in cutting fluid, donned all the proper PPE, and began slowly milling.
The initial passes were slow and clunky. With the guide bearing not tracing anything at first, I had to be careful not to lose hold of the router when it dug into the metal. But after a few passes, I got the hang of it; chips started to fly freely, and the hole slowly opened.
In all, it took me only about twenty minutes to remove the bulk of material from the spacer, and after one final pass with the bearing along the template below, I was finished.
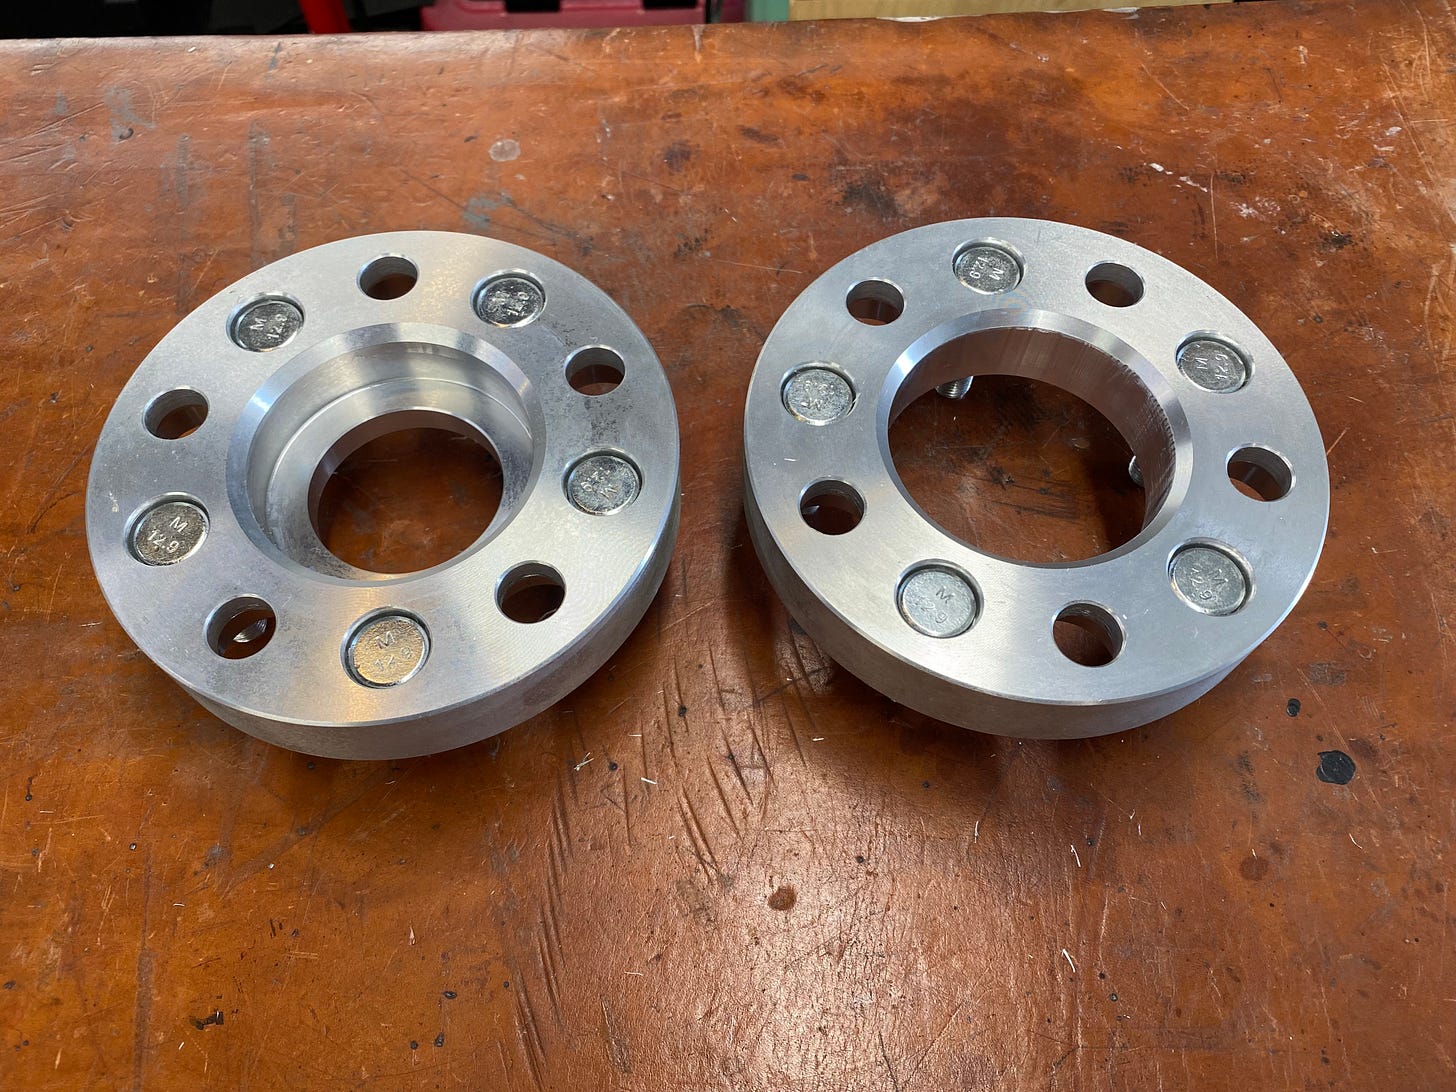
Honestly, I was surprised at how well it worked. The final edge is visibly imperfect on close inspection, but it's pretty good, considering how I acomplished it. Most importantly, the spacer now fits over the camper's hub, and I can mount the car's spare on it.
Mission accomplished.
The takeaway from this story: I need a metal lathe and mill.
But without either, one can still do some pretty aggressive machining with some forethought, careful execution, and elbow grease (or, in this case, cutting fluid). While not ideal, the router works admirably as a machining device and performs well beyond its most commonly employed purpose in woodworking.
Until next time.
JRC



This is great!
Router
4. A person who, despite obstacles, finds a route around them leading to ultimate success. :-)